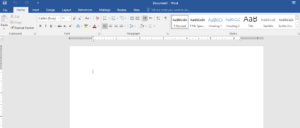
To use the print option in Microsoft Word, follow these steps:
1. Open your document in Microsoft Word.
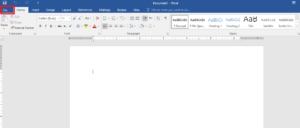
2. Click on the “File” tab located at the top-left corner of the screen.
3. From the drop-down menu, select “Print.” Alternatively, you can use the shortcut “Ctrl + P” on Windows or “Command + P” on Mac to open the print dialog directly.
4. The print dialog box will appear, displaying various print settings and options.
Word Printing Method
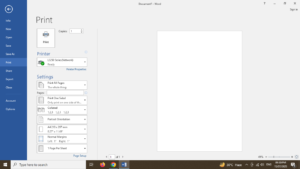
5. Review and adjust the print settings as needed. You can choose the printer you want to use, the number of copies to print, and other settings like paper size, orientation, and page range.
6. Once you’ve configured the print settings, click on the “Print” button to start printing. Alternatively, you can choose “Print Preview” to see how the document will look when printed before actually printing it.
7. If you’re using a printer that supports additional features, such as duplex (double-sided) printing or specific print settings, you may find those options in the print dialog box as well. Make any desired adjustments to these settings before proceeding to print.
8. The document will be sent to the printer, and you should see a progress dialog showing the status of the printing process.
9. Wait for the printer to finish printing your document. The exact time required will depend on the length and complexity of your document, as well as the speed of your printer.
That’s it! Your document should now be printed using the print option in Microsoft Word. Remember to collect your printed document from the printer once it’s finished.